First select the plan that covers the area you are snagging. If you don’t have a plan or drawing we’re working on a solution for that too! You can add photos of areas or individual items for snagging and follow up with further photos on completion.
To add a photo select the camera icon from the tools list on the right of the screen.

Then touch on the screen where you want the photo to be placed. If you keep your finger on the screen you will see crosshairs. The crosshairs shows where your photo will be placed. You can move this as needed. Don’t worry you can also move your photo location later.
As with all markup in basestone you can enter details about the item for snagging and set a priority based on the seriousness of the issue. Priorities are useful when you hand off an item to help the on site team decide which issues to work on first. You should also set the status of an item to “for review” which reduces the number of items that are displayed on the screen when rectification is in progress.
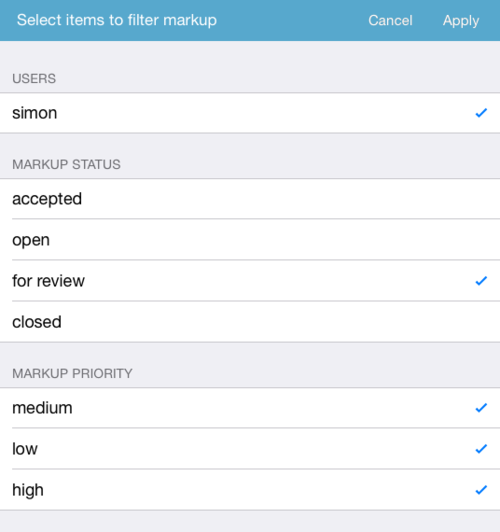
To filter the items shown on screen select the filter icon in the top bar on the right of the screen

All the parameters that you can filter on will be shown. Un-tick anything you don’t need to see. In this case we only want items that are “for review” so we leave that selected.

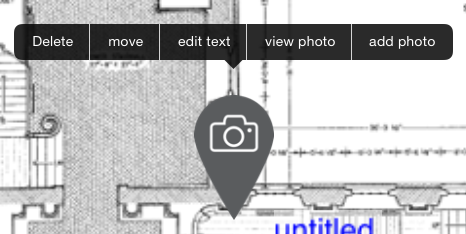
On completion of rectification the contractor can add a photo to the item as proof of completion. To do this select the camera pin in the drawing. A menu like this will appear. Select “add photo” to take an image and update progress.

Additional photos can be taken if required. The contractor should then set the status to closed ready for the acceptance stage.